Dan Robinson
EF5
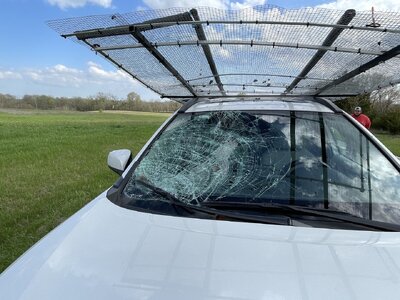
I would still like to figure out a good, sleek "field deployable" all-windows guard design that is also as low-profile as possible. Something that minimizes MPG drag and also doesn't look ridiculous. Front guards really get in the way of photography and dashcam videos, and unless it lowers, won't protect the lower part of the windshield when the vehicle is in motion. Right now my side guards require exiting the vehicle to deploy, which is a problem when larger hail begins suddenly and you can't get out of the car.
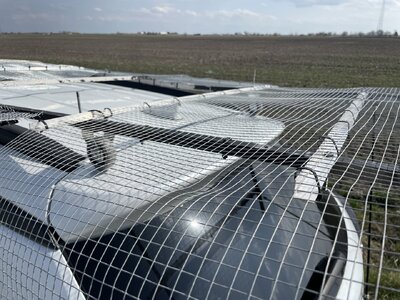
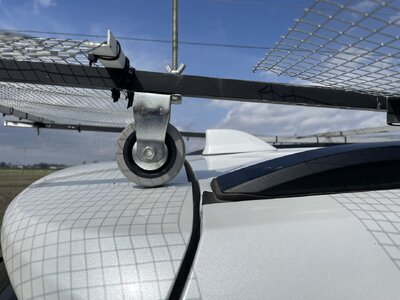
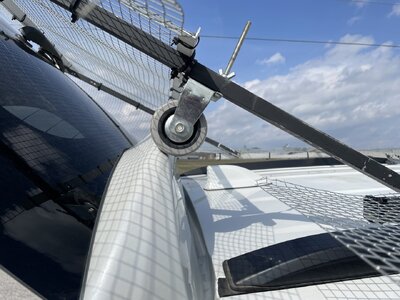
Thinking of something flat on the rooftop where all guards slide out horizontally to deploy, the side guards then pivoting down and locking into place.
Thinking of something flat on the rooftop where all guards slide out horizontally to deploy, the side guards then pivoting down and locking into place.